
I’ve helped multiple folks so far, and it’s an easy sell, so here’s a guide on how to quickly setup a blog like this one.
Features
- Minimal upkeep effort - you type in Obsidian, your website updates automagically
- Static site - none of that React build system nonsense, your site is HTML and will work in any browser
- Quick setup - if you can use git, you can set this up
Pre-reqs
- git - need this for the auto-luxe portion -> Windows, Mac, if you’re using linux you already know how to get this setup
- obsidian - here
- obsidian git plugin - for our purposes, I’ll cover how to install this
- Github account - here
Alrighty
1. Fork it real gud
With your account, head to https://github.com/barryclark/jekyll-now
Follow the instructions on the README.
You should now be able to access your blog at https://yourgithubusername.github.io
2. Git moment
Have git installed, clone your newly forked repo
Make your repo’s .gitignore file look like this. That last line will prevent conflicts from happening if you use multiple computers to edit your blog.
_site
.DS_Store
.jekyll
.jekyll-metadata
.bundle
.sass-cache
Gemfile.lock
node_modules
package.json
*.gem
*.gemspec
.jekyll-cache
vendor
.obsidian/workspace.json
3. Obsidian, like my soul
Open your repo locally in Obsidian.
4. Add and config git plugin
In the open Obsidian window, click here

then this one

enable plugins
then browse em

Add the git plugin
I’m specifically using 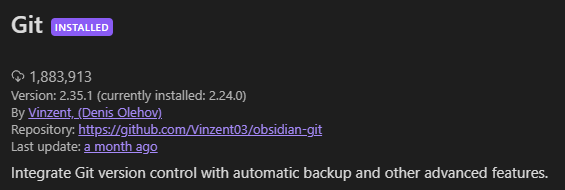
and I have it set to
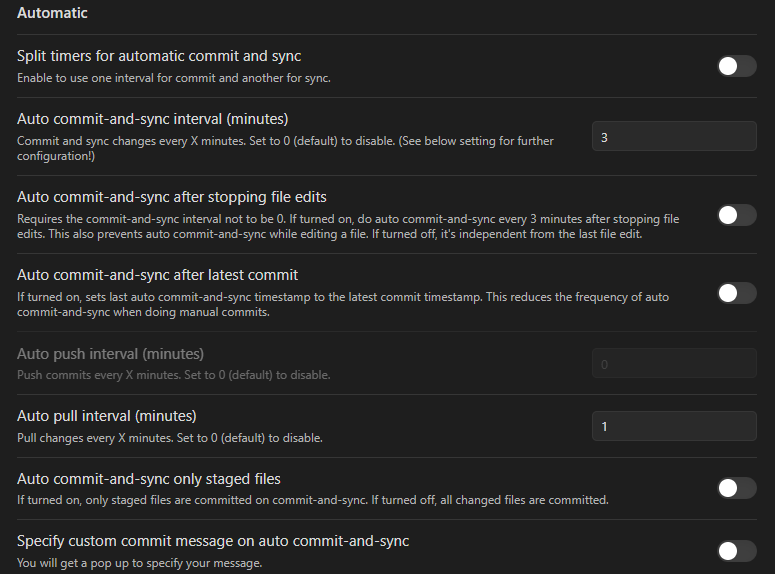 and
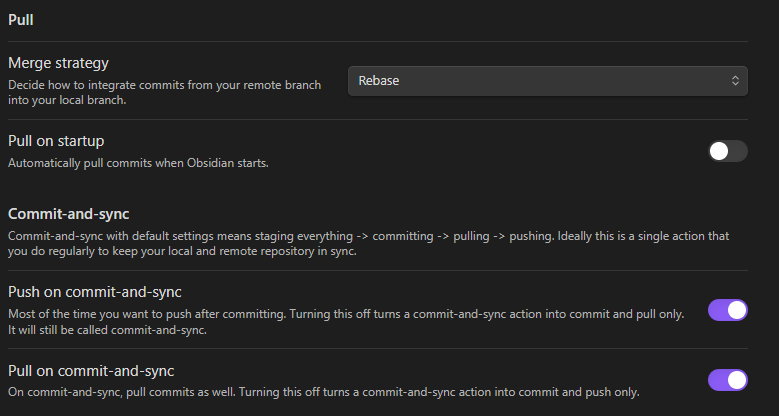
and
Once that’s done, it should start popping off. Give it a few minutes (<5) to build between changes.
That’s the minimum setup.
But if you want to do a lil more, you can buy a domain and do DNS redirects like I do.
Speaking of
5. Custom domain (expansion)
Buy a domain from someone who offers free ICANN anonymization, like Namecheap, and then use Cloudflare or another provider for DNS (Cloudflare DNS is free!)
Combining it like this avoids unnecessary cost (paying for DNS!) and annoyances (people emailing you and calling you about designing your website, unsolicited). It is somewhat tricky to setup, but at least Cloudflare has decent guides on it.
DNS setup with GitHub Pages is fairly easy!
All you need is a CNAME record, and make sure it isn’t proxied(GH doesn’t support this)

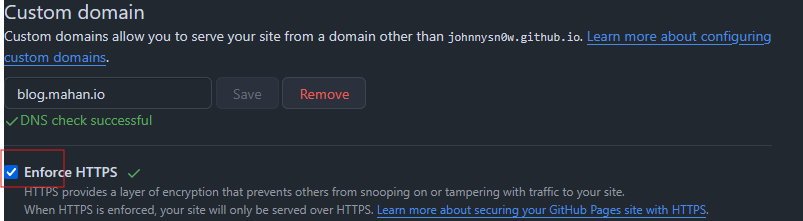
Once that’s in, go to the settings tab on your GH repo, and fill in the Custom Domain section at the bottom
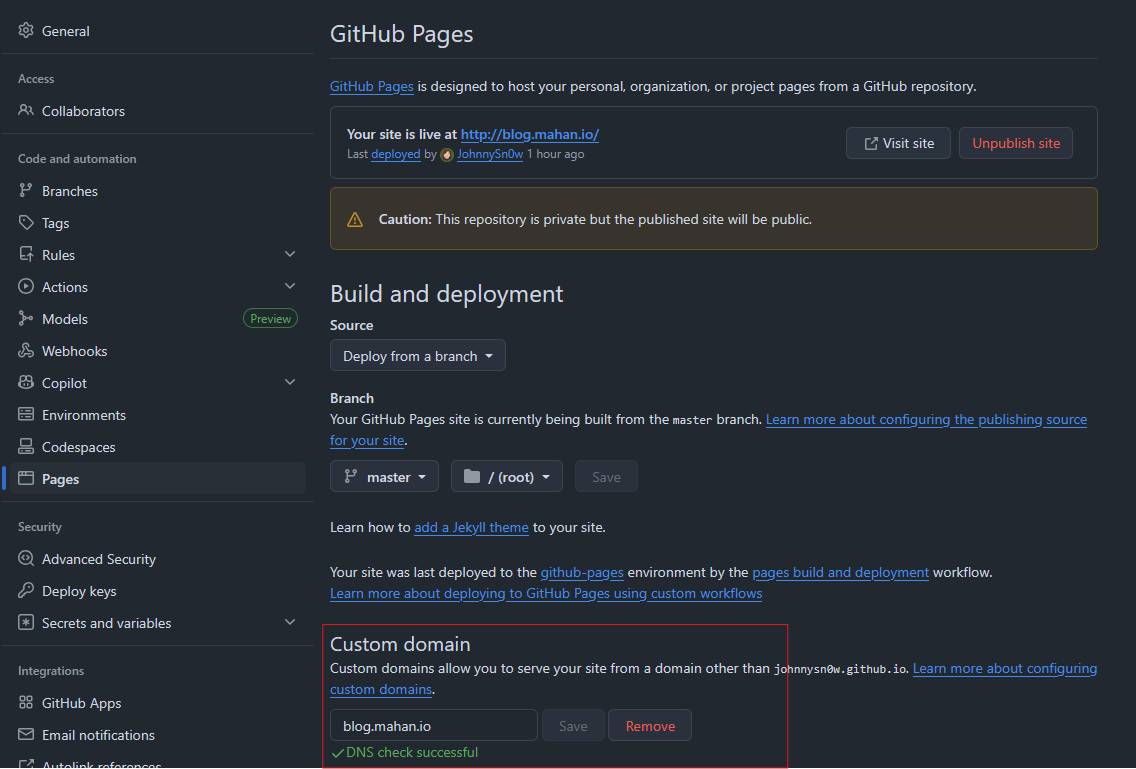
You may have to wait a few minutes for it to verify, but Cloudflare is pretty quick.
Then finally, so u can be all modern with SSL, hit the checkbox at the very bottom of the same page. Wait a few minutes, sometimes the SSL cert provisioning is slow.
6. Enjoy
Now your blog is now hosted for free, SSL encrypted, automatically updatable, and has a cool URL.
P.S. The theme I use is Reverie, but if I recall, I had to edit it a bit to get it working, YMMV.